Can You Replace a Car Side Window Yourself? What to Know Before You Try
Replacing a car side window may seem like a manageable DIY project for someone handy with tools, but it’s more complex than most drivers expect. With today’s modern vehicles featuring advanced electronics, safety mechanisms, and tight factory seals, even a seemingly minor repair can turn into a big issue if done incorrectly. Let's explore everything you need to know before attempting to replace a side window yourself, from the required tools to potential risks, and when it’s best to call in a professional.
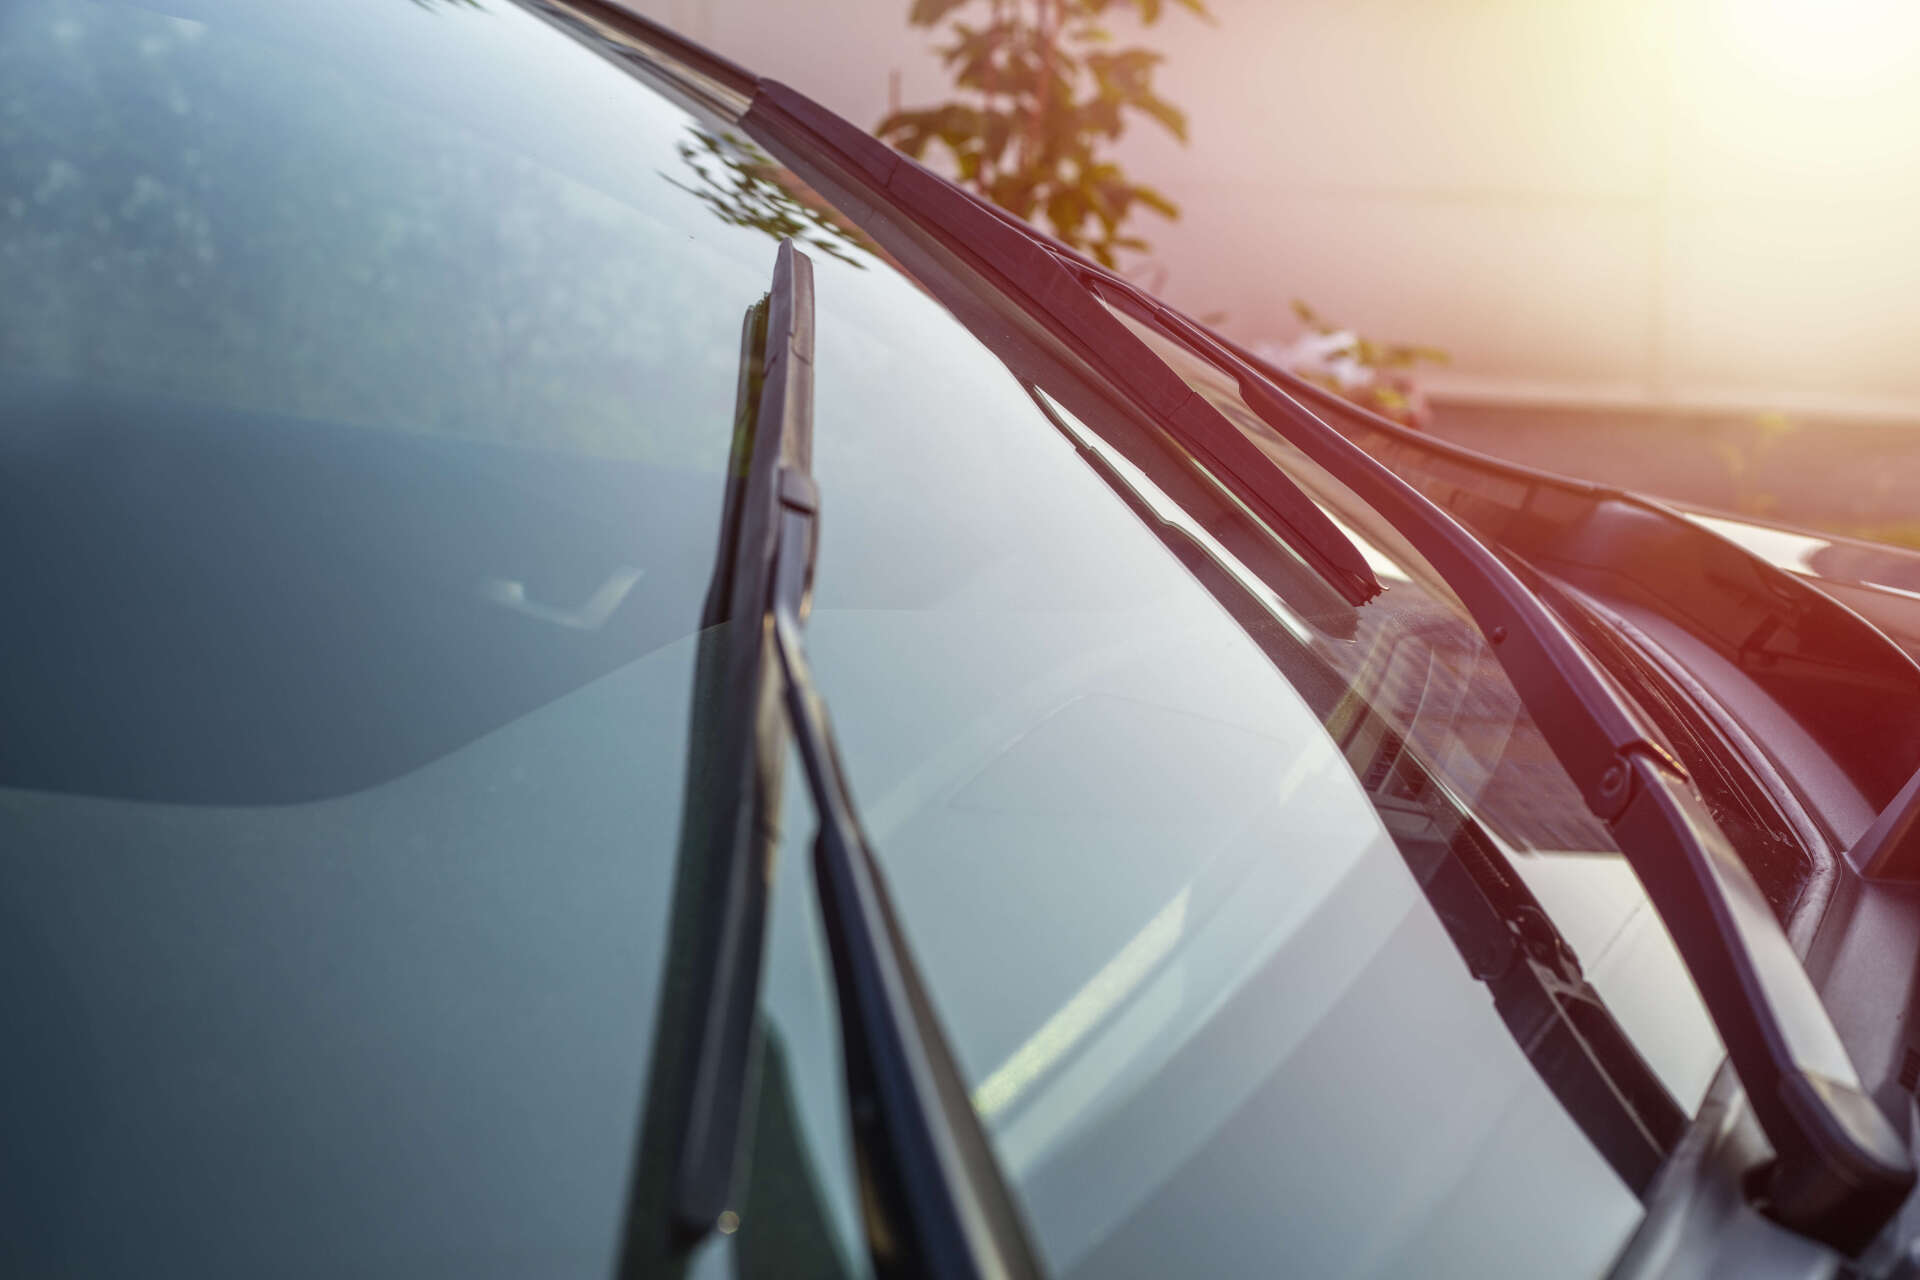
Understanding the Basics of Side Window Replacement
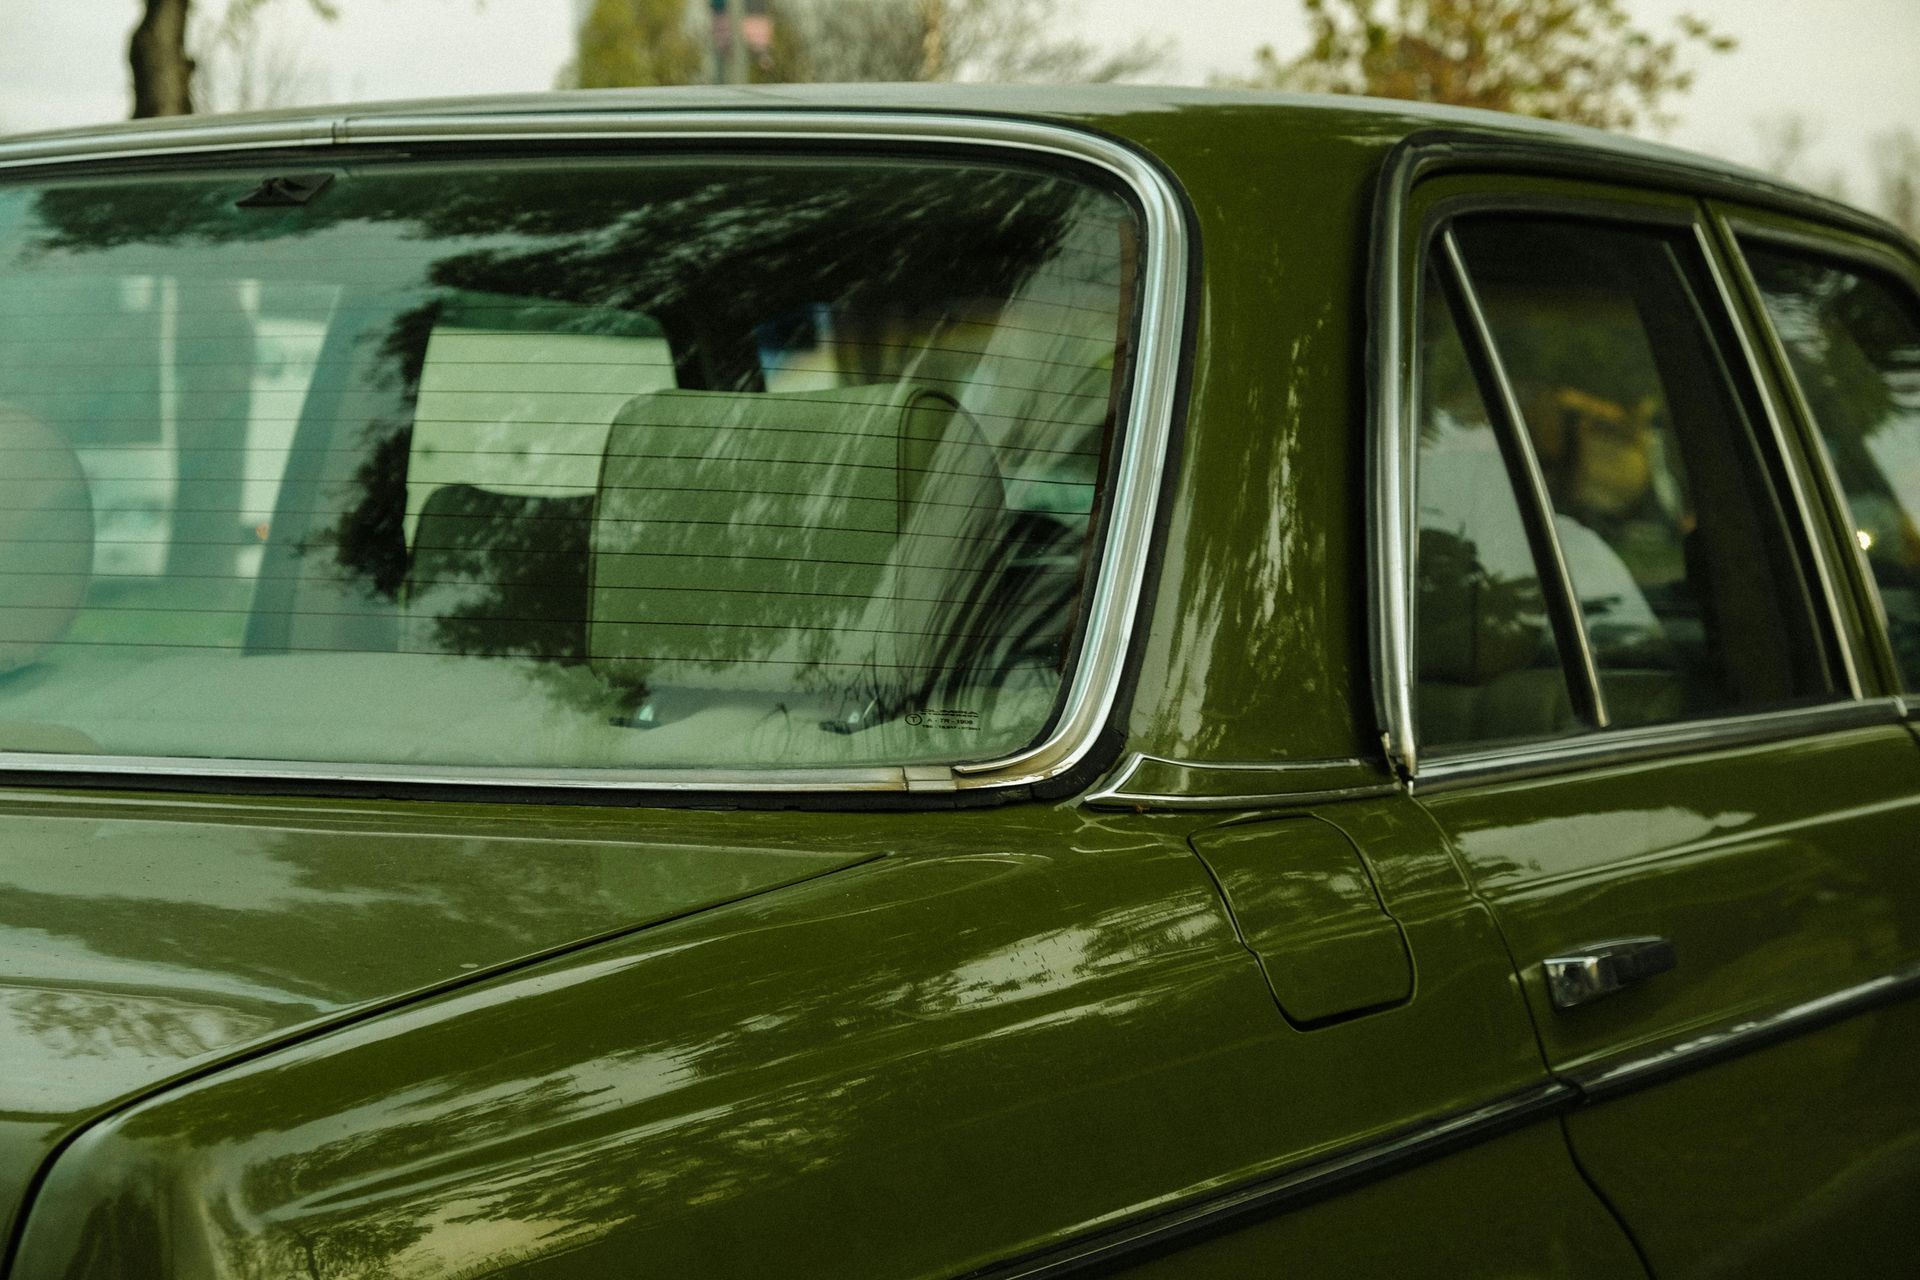
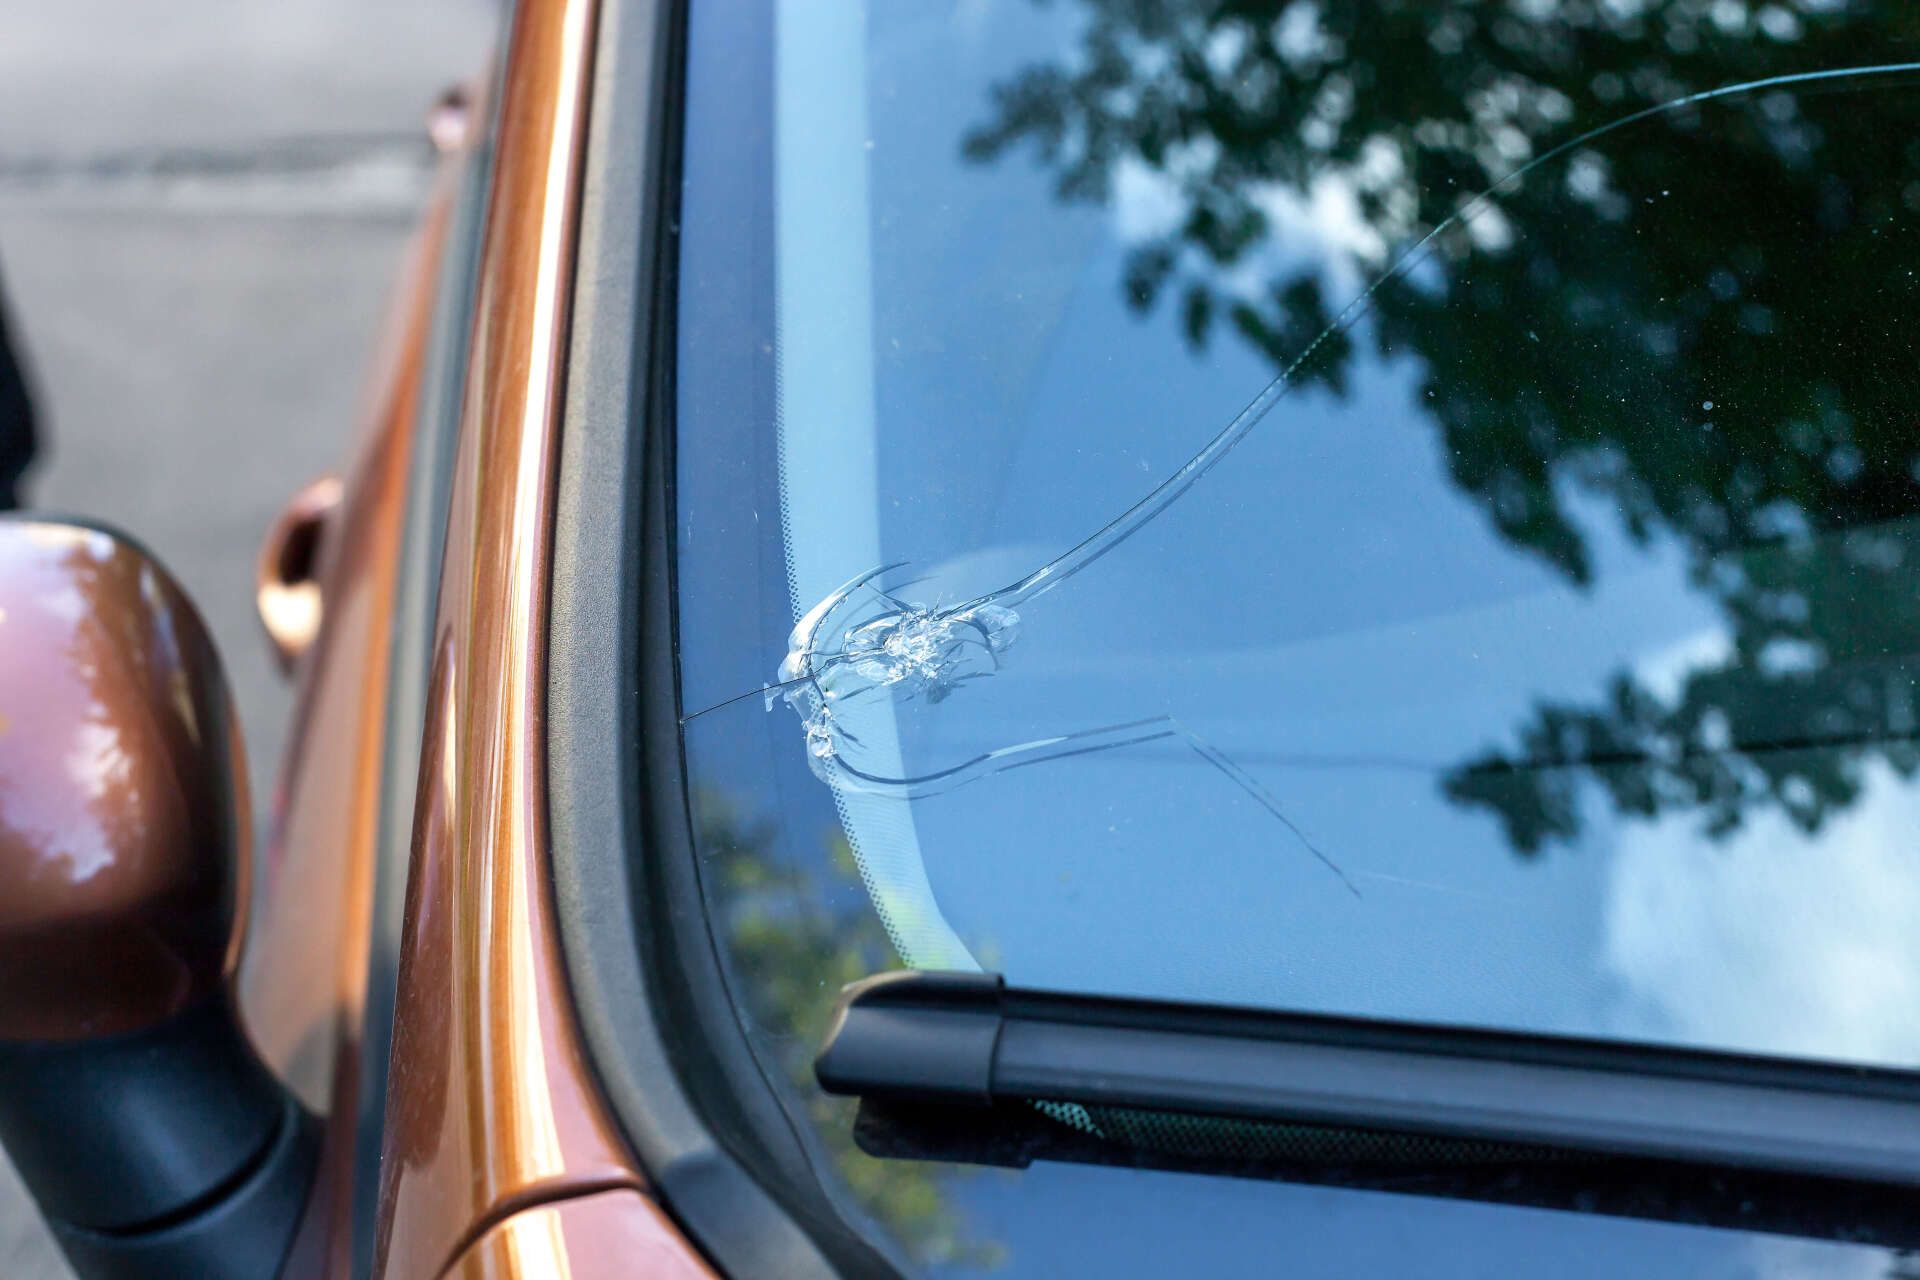
Car side windows, unlike windscreens, are typically made of tempered glass. This type of glass is designed to shatter into small, blunt pieces for safety. However, once broken, it must be replaced entirely.
The process involves several key steps: removing interior panels, safely clearing shattered glass, aligning the new window into the track, and ensuring proper seal and function. If your vehicle includes power windows, sensors, or tint film, the job becomes even more technical.
DIY replacement is possible, but it requires the right knowledge and a good understanding of your specific vehicle model. Even small mistakes in alignment or installation can result in leaks, rattling, or window failure.
Tools and Materials You’ll Need
Before attempting a side window replacement, you’ll need to gather the following tools and materials:
- Safety gloves and glasses
- Screwdrivers and trim removal tools
- Vacuum cleaner for shattered glass
- Socket wrench set
- Replacement side window glass (OEM or compatible aftermarket)
- Window adhesive or sealant (if required)
- Waterproof barrier materials (plastic sheet or sound-deadening barrier)
- User manual or repair guide for your specific vehicle
Some modern cars also require reprogramming of the window regulator system or recalibration of sensors, adding more complexity to the task.
Step-by-Step Overview of the DIY Process
- Remove Door Panel: Carefully detach the interior door panel using a screwdriver or trim tool. Disconnect any electrical connections for power windows or door locks.
- Clean Out Broken Glass: Use gloves and a vacuum to remove all shattered glass from the door cavity and interior. Be thorough; missed glass shards can damage the new window or cause noise.
- Detach Old Window Components: If there are remnants of the broken window still in place, remove them carefully. Locate and unscrew or unclip any brackets or bolts.
- Insert New Glass: Slide the new glass into the track, ensuring it aligns with the regulator arms. This step often requires a second set of hands for safety and accuracy.
- Test the Mechanism: Temporarily reconnect the window controls and test the up/down motion. Check for smooth operation and proper sealing before reassembling the door.
- Reinstall Door Panel: Once everything works correctly, reattach the vapor barrier (if present) and secure the door panel. Make sure all electrical components are functioning.
Challenges and Risks of DIY Replacement
Precision Alignment
Modern vehicles have tight tolerances for window alignment. If the new glass isn’t positioned correctly in the regulator or seal, it could lead to water leaks, wind noise, or even glass breakage during use.
Electrical and Sensor Complications
If your car has features like automatic window locking, rain sensors, or anti-pinch technology, replacing a window can interfere with those systems. Improper reconnection may disable or damage those features.
Risk of Voiding Warranty
Tampering with window components or electrical systems can void your manufacturer’s or extended warranty. Always check the terms before beginning DIY repairs.
Safety and Security
A poorly installed side window compromises your vehicle’s safety and security. It may not withstand impacts or could be more easily forced open.
When It’s Best to Call a Professional
While a DIY approach can save on labour costs, it’s not always worth the risk. Calling a professional is recommended when:
- Your vehicle has advanced electronics or safety features
- The window tracks are difficult to access
- You lack the right tools or experience
- You need to ensure a perfect factory seal
Professional installers use OEM-approved parts and techniques, ensuring the window fits precisely, functions correctly, and meets safety standards. They can also handle any calibration or sensor reprogramming required.
Final Thoughts: Should You Replace Your Side Window Yourself?
If you have experience working on vehicles and your car has a relatively simple manual window system, DIY side window replacement may be possible. However, for most modern Australian vehicles, especially those with power windows, sensors, and premium finishes, it’s safer and more efficient to rely on expert help. Your safety, vehicle integrity, and long-term performance should be the priority. Windscreen Medics Melbourne provides professional side window replacement services with a focus on quality, precision, and convenience.
Whether it’s a simple side window fix or a full glass replacement, our experienced technicians ensure the job is done right the first time, saving you time, stress, and future expense. Contact
True Value Windscreens today to book a reliable, expert service for your vehicle’s auto glass needs.